How to install, setup & configure your tawk.to messaging app

In this guide we are going to show you how to install, setup and configure the tawk.to social widget and messaging app so you can start monitoring and chatting to the users on your website.
We recommend using a PC or laptop for installation and setup.
The tawk.to social widget has some great features included which will show you in this blog.
Tawk.to is a free widget and messaging app that you can add to your website to receive and send messages to the visitors on your website.
You can monitor all users that come on your site respond to support tickets and create a knowledge base area allowing customers to help themselves.
Best of all tawk.to is free, making it a popular choice against it's competitors like Zendesk which offer a limited free and paid subscription.
Head over to the tawk.to website where you need to register first.
Click the "sign up free button" and enter your details.
Remember your login information as you'll need this to login to your dashboard.
After you've completed your registration you can now login by clicking the "log in" button from their website or typing https://dashboard.tawk.to, this will take you to your login page.
Login with your username and password.
Once you've logged in you will see your main dashboard.
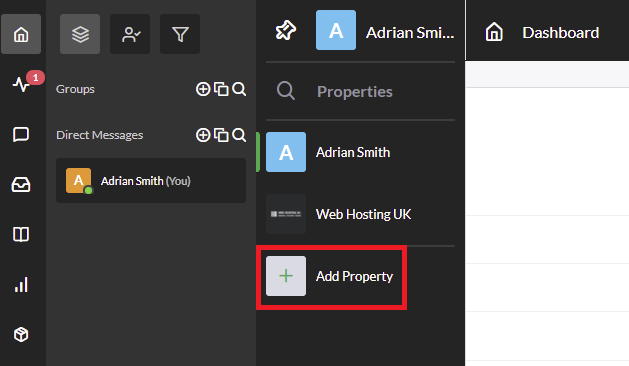
You now need to create your first property, hover your mouse over your signed in property, a drop down list will appear, click the + icon.
"Enter Property Details" will come up asking you to enter:
Enter these as you would like them to be seen in the dashboard.
On the next page you'll be able to see a snippet of code to add to the header section of your website.
Add the code to the header section of your website within the head tags.

If you are using the WordPress content management system you can install the tawk.to plugin and sign in with your login credentials.
To install the WordPress plugin
Alternatively can download the tawk.to live chat plugin directly from the WordPress website and upload in your plugins area.
The tawk.to WordPress plugin will add the code snippet automatically within your header section once you've linked your account.
Now that you've got tawk.to installed on your website we can change how it looks for users coming on to your site.
As default, the widget shows as green with a trigger to automatically show a message after 30 seconds.
If you want to remove or edit the trigger go to addons or select the property from the drop-down list and select "triggers" under the settings area.
Triggers are great for adding promotions and information.
You can also select which pages you'd like to see the trigger or set to all pages.
Within the chat widget section you have the option to customise the appearance of the widget when a user comes on your website.
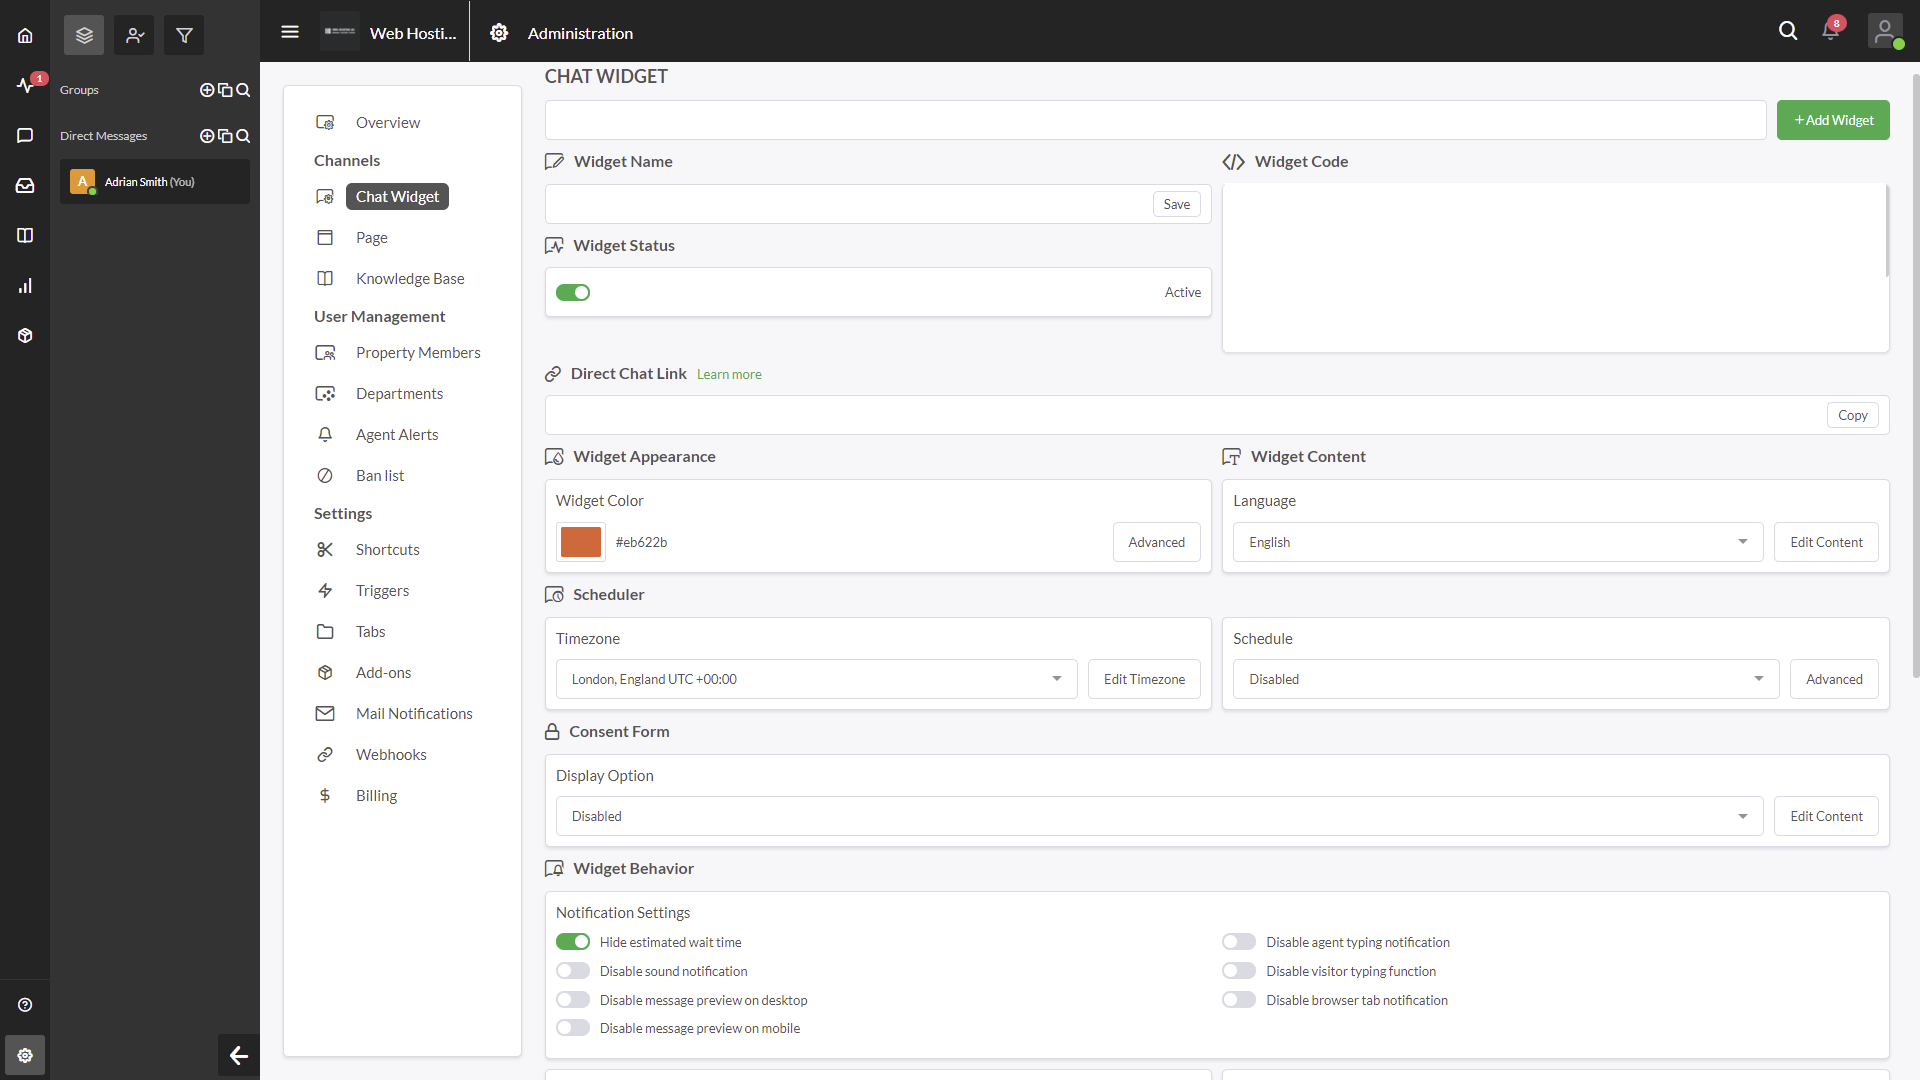
The widget appearance section has an advanced button where you can set the sizes and also a cool gallery area to add your "attention grabber".
It also allows you to set responsive changes if you're using a mobile device or a PC.
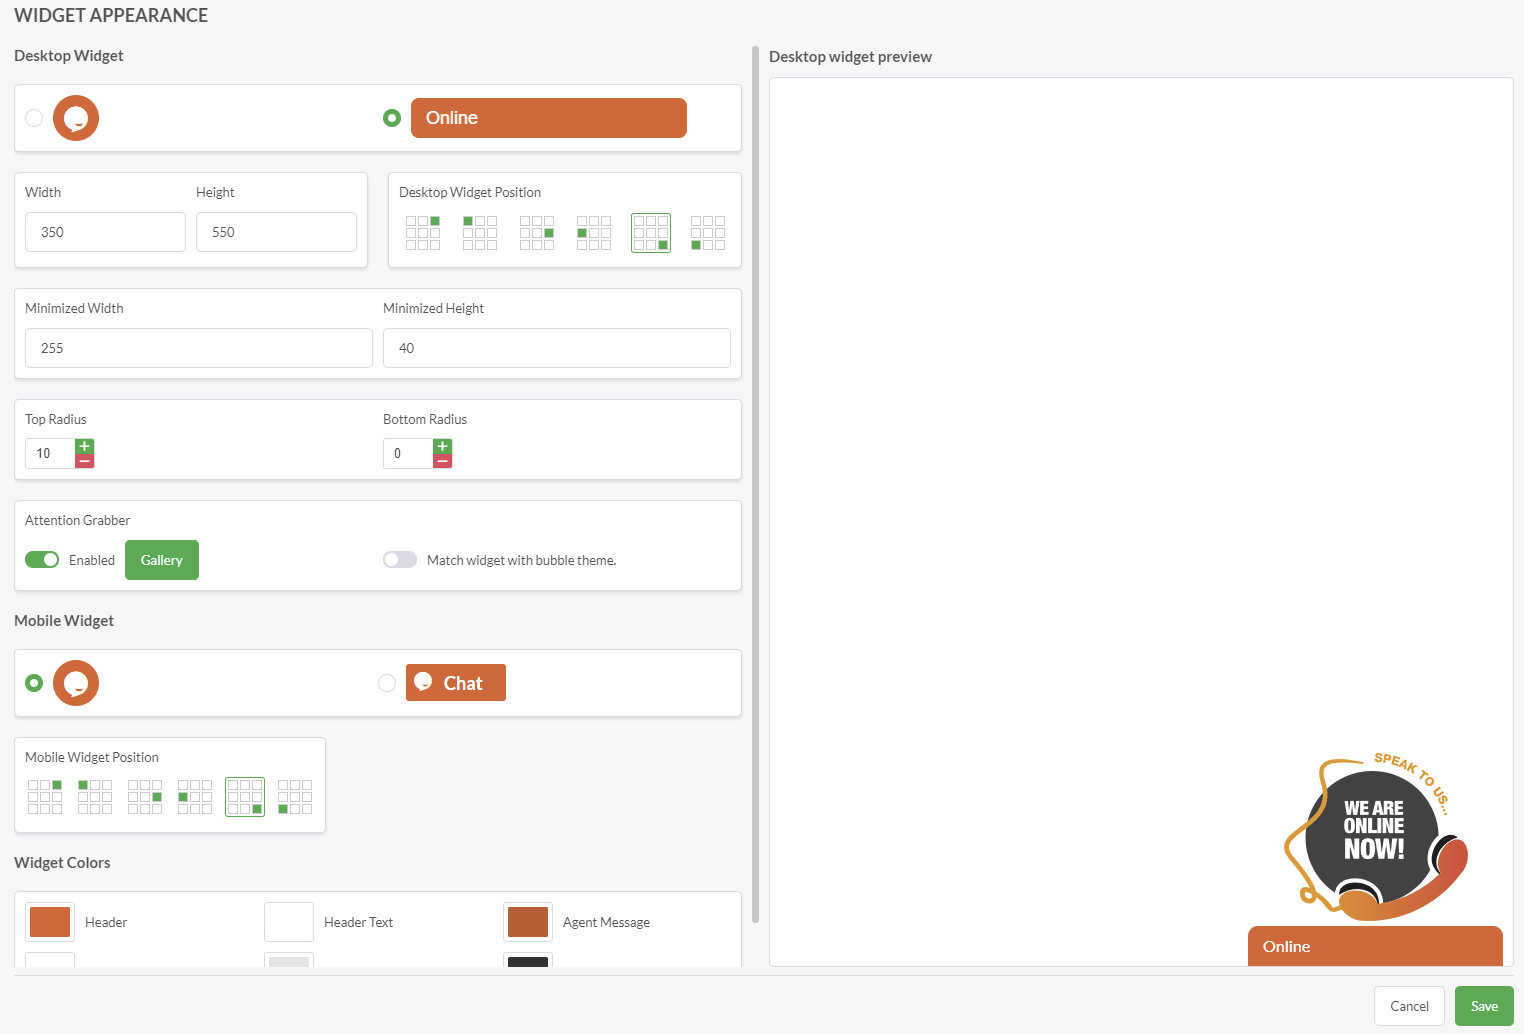
If we go back to the chat widget area, within widget content, the edit content button allows you to set what happens when a person clicks the tawk.to website widget.
Widget state options, all allowing you to change the wording depending on your status.
Other options further down the page include
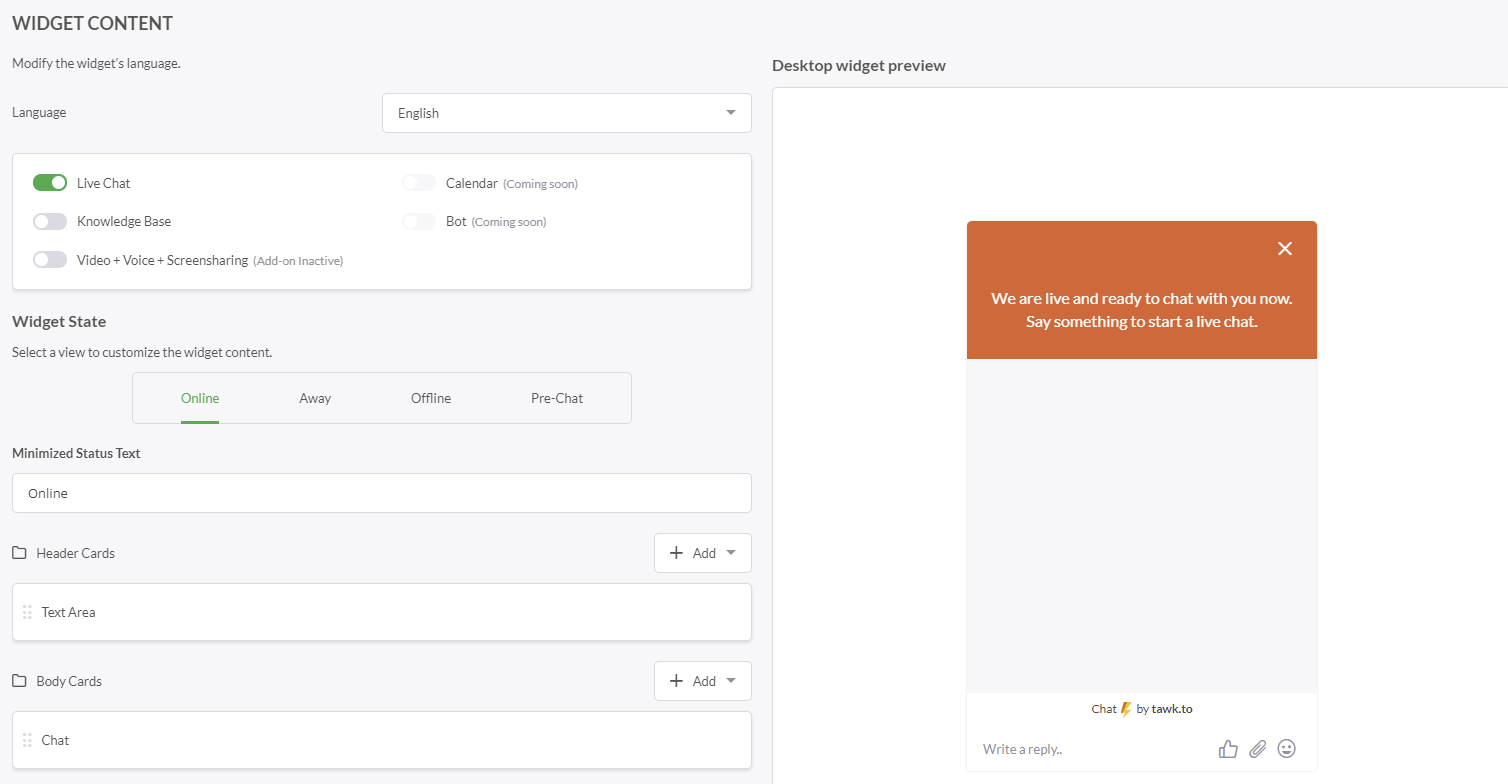
Knowledgebase can be used when a person is needing more information.
The live chat can also be disabled leaving just the knowledgebase section for all answers.
To enable knowledgebase only go to chat widget, widget content and disable live chat, remember to leave knowledgebase enabled for it to work.
If you want to have multiple people on your live chat you can use the Property Members area.
Use the "Invite Member" button and enter the email of the person you'd like to add.
You have the option to set role of the newly added person
For security purposes we recommend selecting "Agent" if you don't want the person to make any changes to your settings.
If you're confident and you want them to also fully manage the page with you, select "Admin".
Departments can be used with the pre-chat function.
Add your departments by selecting "Add Department" where you can enter the department name and optionally a description.
If you have any members that you've added in the property members section, you can also set these to their department.
Agent alerts let's to post important announcements to alert your Agents of important information when a new chat comes in.
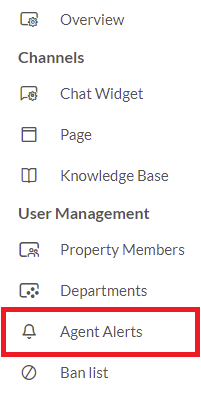
Any visitor that are on the chat will not see the message.
Once in a while you may come across a visitor that may be abusing the chat system, this is where the ban list comes very useful.
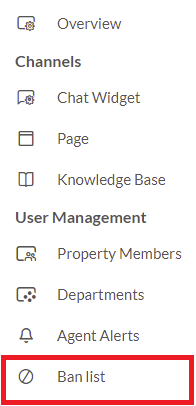
Simply select ban IP and enter their IP address to block any activity.
The visitor will only be able to access the website, not your tawk.to chat.
Other cool settings that are worth checking out are

Tawk.to has some fantastic features that you can integrate into your website and it's also free!
For anyone that wants to add a chat widget to their site this one is very popular with a 98% satisfaction score and millions of users using tawk.to to interact with their customers.
The option to integrate the code yourself into your header, or those which aren't as tech savvy can simply install a plugin and monitor their website is great.
If you're wanting to install this free messenger application with WordPress, check out our WordPress Web Hosting plans.